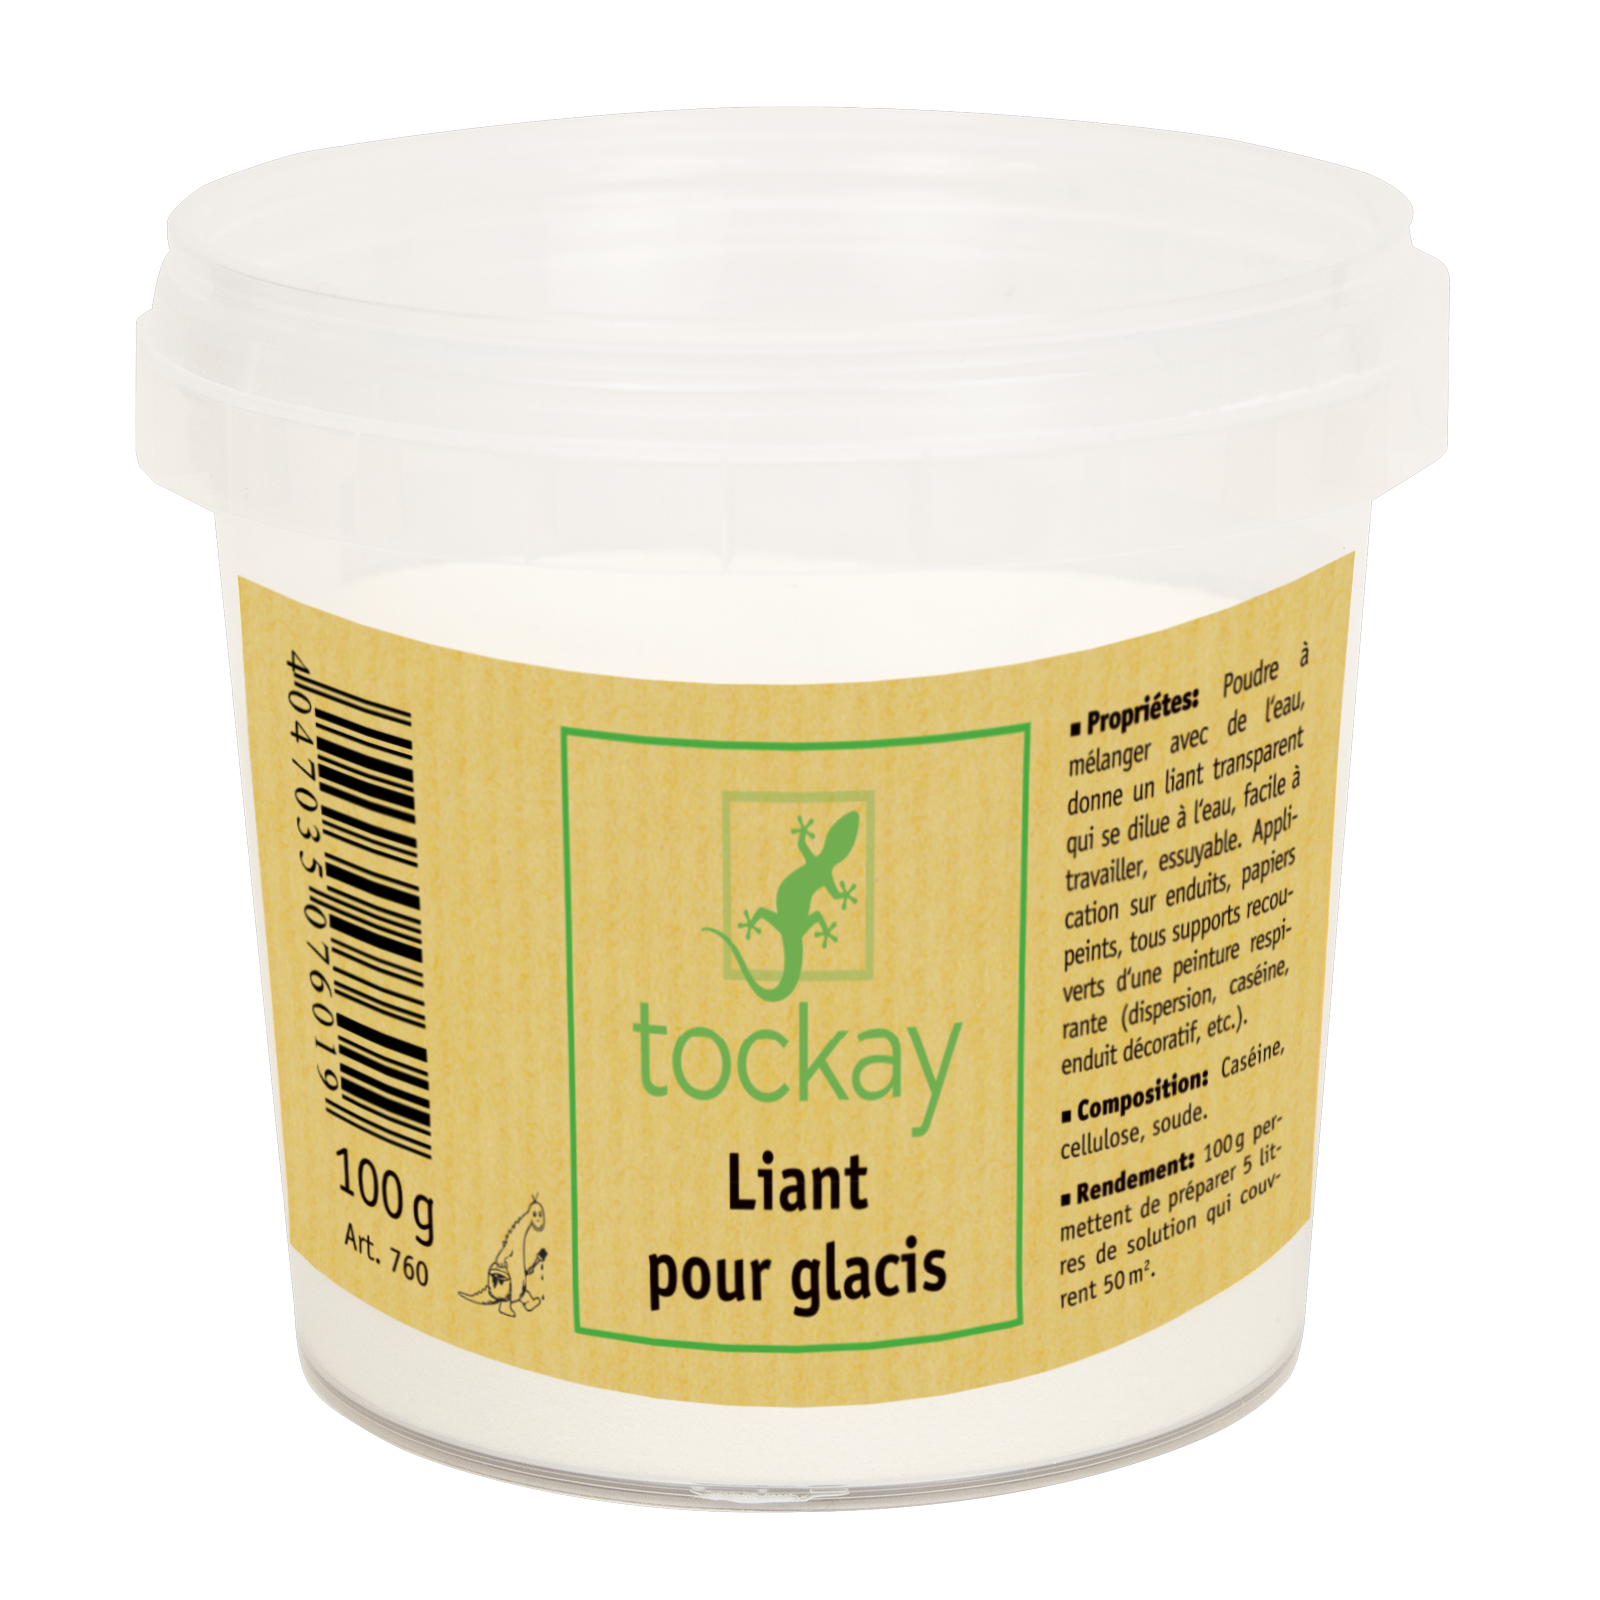
Wall Glaze Binder (100 g)
$32.00
The glaze binder is made of casein. It can be diluted with water to create interior wall glazes. It can be mixed with all Tockay natural dry pigments to create a decorative look.
In stock
Description
The glaze binder is made of casein. It can be diluted with water to create interior wall glazes. It can be mixed with all Tockay natural dry pigments to create a decorative look. It can also be used without pigment to increase the protection of surfaces, making them less microporous.
Application
When using the product, the complete product information must be observed.
TIPSHEET: Applying wall glaze binder
SURFACE PREPARATION
To ensure an optimal result, always apply a glaze on a paint or plaster whose base has been adequately treated. It is important that the surfaces treated with the glaze binder have a homogeneous absorption.
MIXING THE GLAZE
1- Mixing the pigments: Mix 10 g to 100 g of pigments in a small container with a little water.
2- Glaze Mixing: It is recommended to mix in a small bucket and use an electric mixer or an egg beater. Add 100 g of powdered binder to 1 litre of cold water while stirring to eliminate lumps. Let stand for 30 minutes before stirring again.
3- Thinning the glaze: The binder can be further diluted (step 2) depending on the surface and the desired glaze effects:
– Dilute the binder with 2 to 4 litres of water to bring out brushstrokes/tool marks and to achieve stenciling techniques.
– Dilute the binder with 5 to 6 litres of water to obtain smooth glazes or surfaces with a pronounced texture.
– Dilute the binder with 7 to 8 litres of water for multi-layer glazes and to avoid binder build-up and shiny areas.
– Dilute the binder with at least 7 quarts of water to solidify a lime plastered surface.
The amount of water can be increased depending on the surface.
4- Tinting: Gradually incorporate the mixed pigments (step 1) into the diluted binder (step 3) until the desired colour intensity is obtained. Tip: To get a quick overview of the color, apply the glaze on white paper and dry it with a hair dryer. Note, however, that depending on the absorption of the surface, the use of the hair dryer may lighten the shade slightly. To ensure that the desired color intensity is obtained, do a final test on the surface to be decorated and let dry normally.
APPLICATION
It is strongly recommended to apply the glaze with a brush in a criss-cross pattern. Avoid applying it horizontally, vertically, circularly or in a checkerboard pattern. Always allow the paint contours to thicken in an irregular manner.
The application possibilities are endless: brush, sponge, cloth or spalter. We recommend the brushed (‘’criss-cross strokes’’) technique. Avoid horizontal or vertical applications.
Glaze should be applied the day it is prepared. Do not use it if it shows signs of rotting or if it smells bad; otherwise, the smell may linger, even after drying.
DRYING
Second coat possible after about 4 hours at 20°C. Completely dry after 24 hours.
TIPS
– For beginners, it is advisable to try out the product beforehand to become familiar with it.
– It is recommended to work the glaze without rubbing for too long on water-reversible surfaces, e.g. covered with milk or clay paint. Otherwise, there is a risk of dissolving these paints, and thus losing the desired glaze effect. It is therefore advisable to apply the glaze quickly.
– In case of persistent lumps in the mixture, filter them with a nylon stocking.
COLOURLESS FINISH TO SOLIDIFY A PLASTERED SURFACE
The glaze must be strongly diluted when used to solidify a clay or other plaster surfaces. Add 7 litres of water to one litre of prepared glaze and mix with or without pigment. Apply the glaze evenly with a brush or a sprayer. Do not roll! It is important that the glaze is completely absorbed by the surface; otherwise, there is a risk of creating shiny areas that remain visible. Application should be done from the bottom up to avoid streaks in the glaze). It is possible that the color of the coating will become slightly darker. It is therefore important to test before applying the product on large surfaces to evaluate the change in colour tone and potential reactions (white spots, efflorescence) on the coating. Check resistance after drying. Repeat treatment if necessary.
CLEANING OF TOOLS
Clean with water immediately after use.
Technical Data
It should be noted that the yield may vary depending on the substrate, the application method and the quality of the surface. Determine exact consumption by testing.
Before using this product, consult its Technical Data Sheet
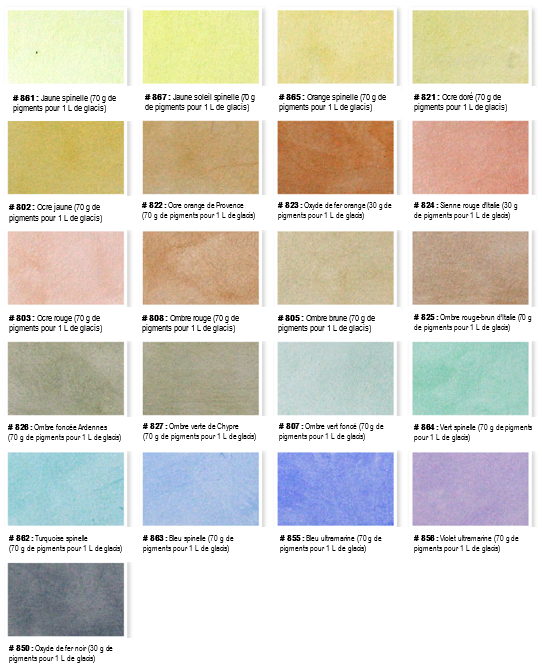
Colour Chart
Choose one of the 21 vibrant shades from our colour chart and rediscover the forgotten art of the craftsman by mixing your own hue using Tockay’s natural dry pigments!
All-natural, non-toxic, and free from petroleum-based chemicals, our pigments come in powder form and easily mix with water to be incorporated into the glaze binder according to a precise recipe.
— Always make sure to eliminate any lumps
All colour charts available online as well as paper brochures are intended as guides only. Differences in shade representation may occur due to computer screen settings or printing.
To get the best impression of our colours, we recommend the purchase of handmade colour charts made from casein paint and natural dry pigments.
Check out: